
Timber veranda configurator: read the timber veranda as part of the façade
A timber veranda changes the appearance of the building connection as well as the covered terrace. Customers need to compare its proportions against the house, not only against an attractive garden background.
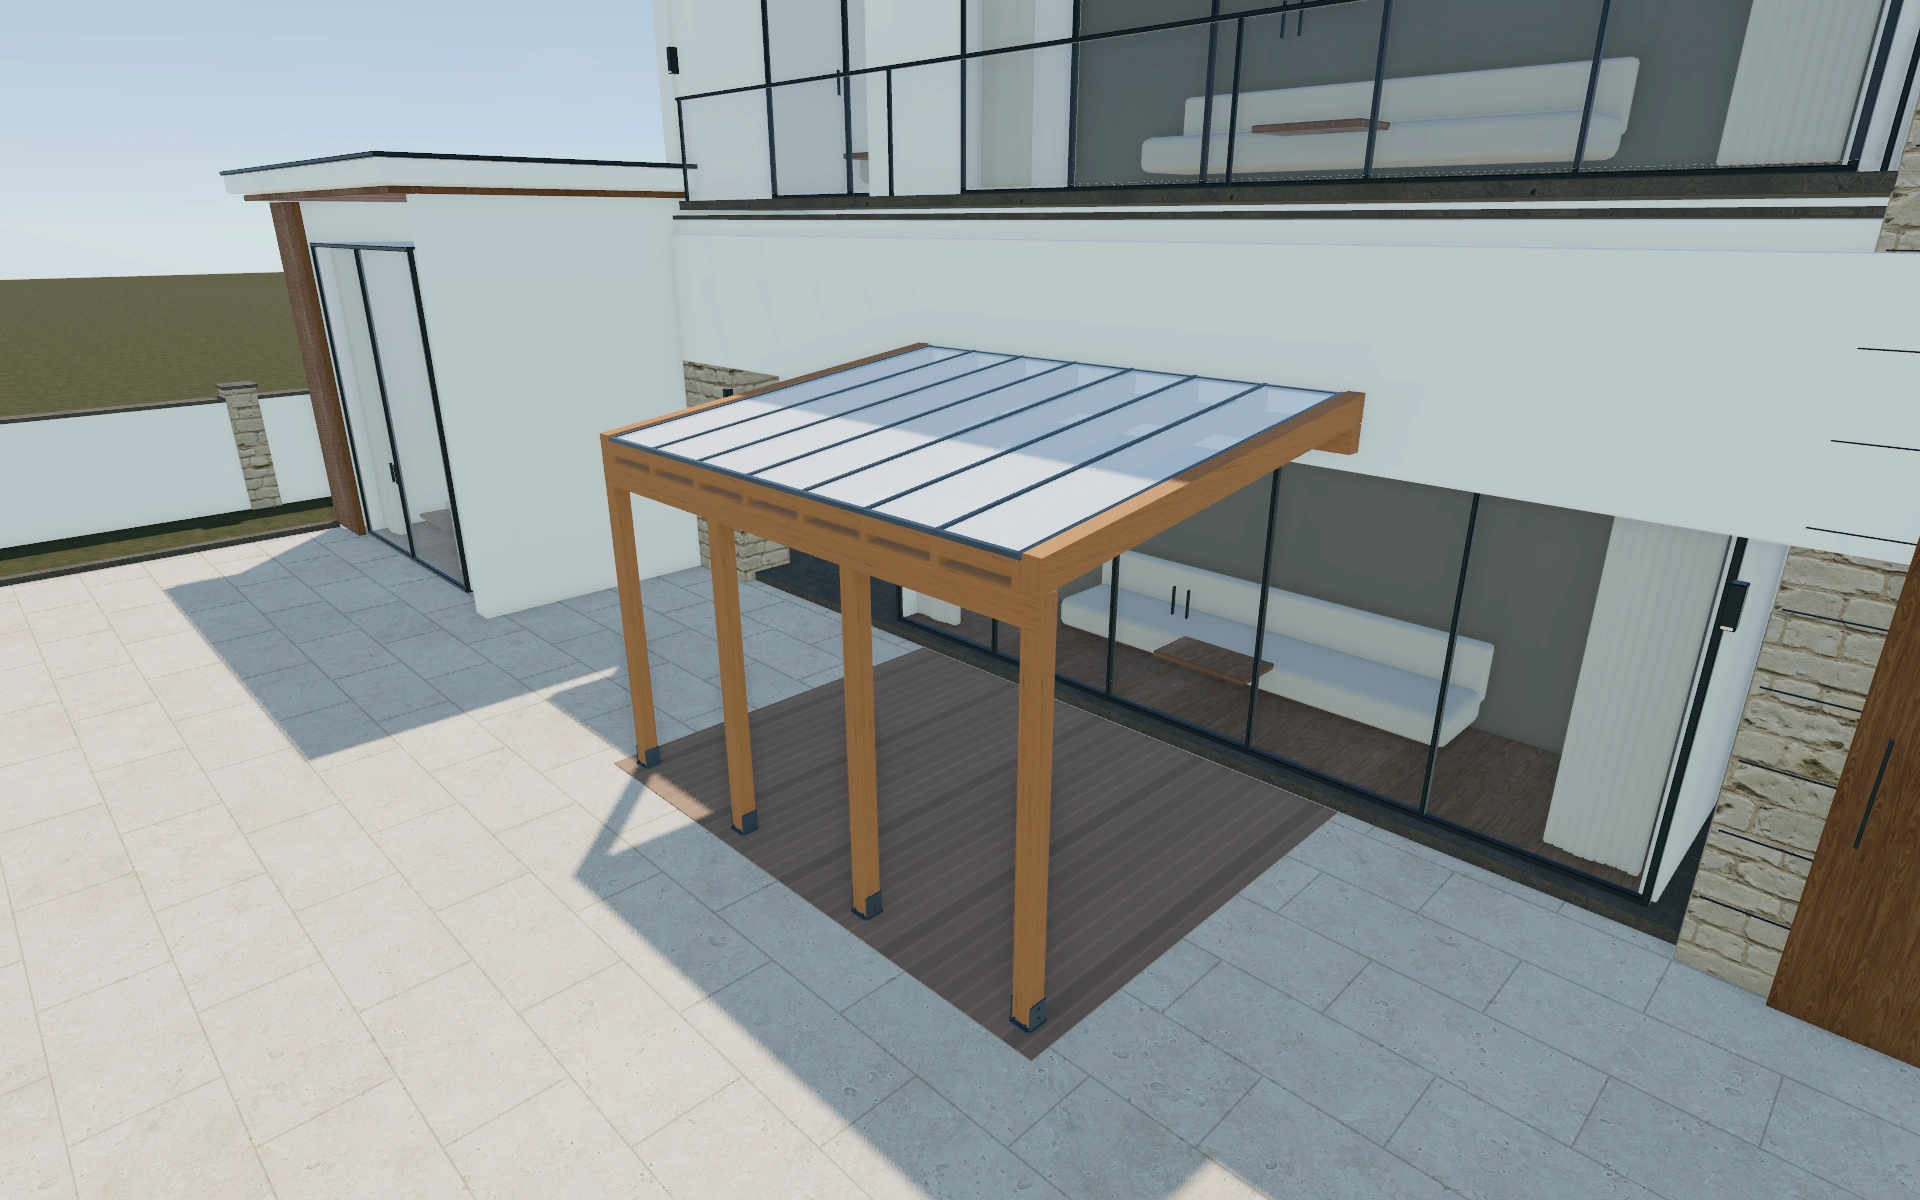
Read the timber veranda as part of the façade
Begin with the width and projection the customer wants to discuss. Review the roof line, posts and timber appearance from the façade and terrace sides. Keep the building reference useful for scale without treating its visible wall as evidence that the actual fixing location has been assessed.
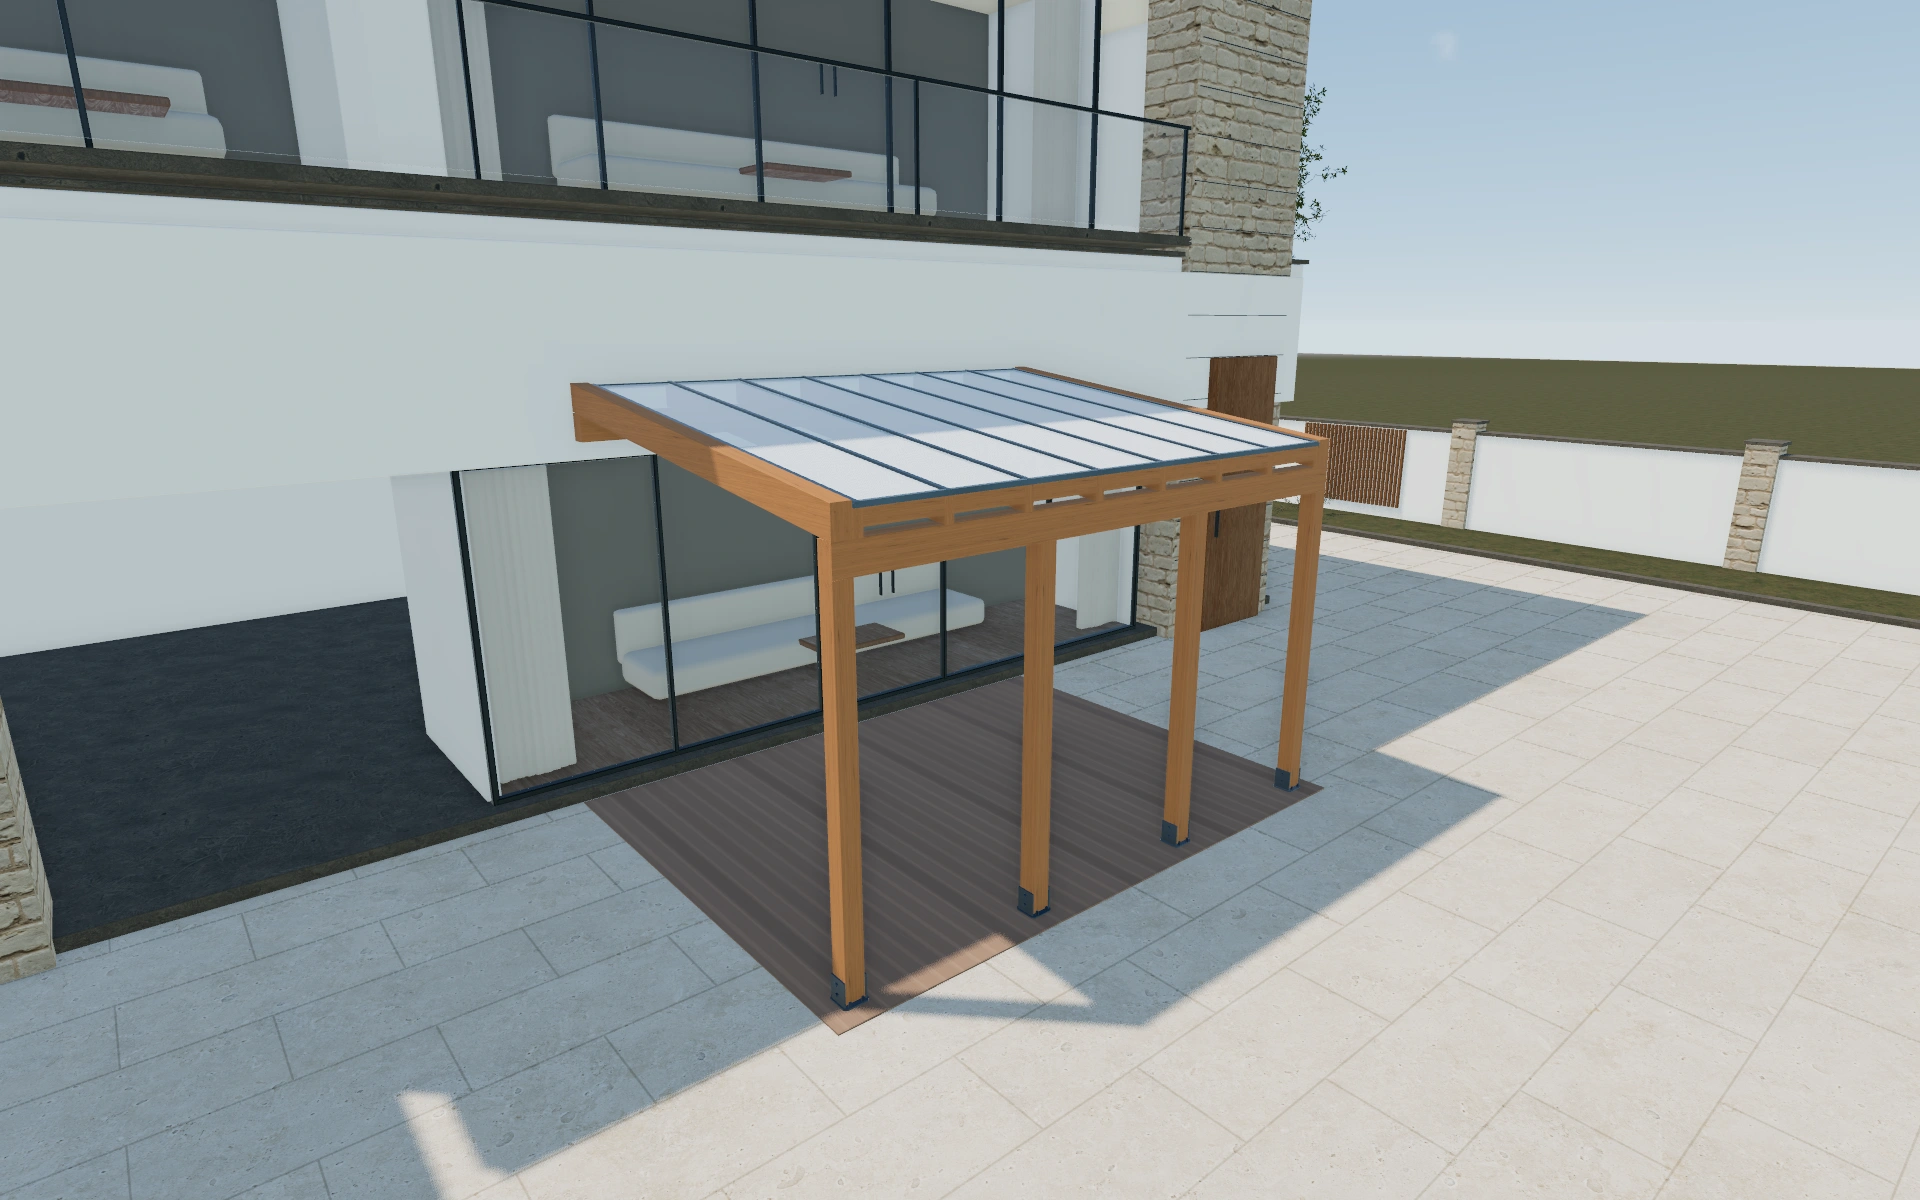
Wall-attached with posts or another mounting arrangement?
The mounting menu includes freestanding, wall-attached and wall-attached-with-posts choices. Compare how the support arrangement meets the intended terrace before selecting timber ends or a header appearance. Extra visible posts should be discussed as part of access and composition, not treated as interchangeable decoration.
Review the header with the building connection visible
The wall-attached arrangement and its posts explain how the veranda occupies the terrace. Compare the header appearance while keeping that relationship fixed. A side view helps retain projection and the route to nearby doors, which can be lost in a finish-focused front image.
Name the selected timber appearance and header preference in the proposal. Keep the covering and drainage discussion distinct from the frame. Record the actual wall connection and installation requirements so the customer’s preferred exterior combination becomes a clear supplier brief.
Timber veranda options to compare
Review the selected model before refining individual details. Available choices can change with the model and earlier selections; the groups below describe the current starting configuration.
Structure
- Mounting type
- Freestanding
- Wall-attached
- Wall-attached with posts
- Post anchoring
- Surface post-shoe
- H-anchor cast in concrete
- Metal post-base bracket
- Concreted in-ground
- Header beam type
- Single perimeter header
- Twin header
- Beam / rafter end profile
- Square cut
- Angled
- Scalloped
- Post section
- 70–220 mm in the current model
Dimensions
- Dimensions
- Standard
- Custom
- Standard size
- Small
- Medium
- Large
- Extra large
Finishes
- Timber finish
- Natural
- Translucent stain
- Opaque paint
- Roof cover material
- Twin-wall polycarbonate
- Laminated glass
- Retractable soft canopy
Roof
- Roof slope
- 0–10 ° in the current model
- Roof cover
- Open rafter grid
- Covered
Openings
- Side enclosures
- Front
- Right
- Left
Lighting & power
- Integrated LED lighting
- Include or omit
Accessories
- Timber species
- Pine
- Glulam / Spruce
- Western red cedar
- Douglas fir
- Oak
- Larch
- Knee braces
- No
- Yes
- Side infill — front
- Slatted screen panel
- Fixed timber wall
- Fixed glass
- Sliding glass
- Low balustrade
Advanced
- Rafter / joist spacing
- 600–1200 mm in the current model
- Gutter & downpipe
- Include or omit
- Attached storage room
- Include or omit
- Service included
- No
- Yes
Dimension ranges describe the current model controls. Confirm the selected product, final measurements and supplied specification with the manufacturer.
Worked example: a customer brief for timber veranda
For a terrace with several house doors, compare the support arrangements at one width. Record which route must stay convenient and inspect the roof connection from the side. The proposal can identify the chosen timber assembly and mounting arrangement, leaving actual wall fixings and foundation work explicit.
From timber veranda choices to a clear proposal
Carry the selected timber veranda configuration into the proposal, then identify roof specification, drainage and installation review separately. A clear distinction between the product and the site work makes the quotation easier to revise when the measured building conditions differ from the early conversation.
Questions for your timber veranda review
- Building relationship
- Terrace coverage
- Timber appearance
- Drainage and fixing review
Useful views for the timber veranda review
Use these inspection views to discuss the arrangement and visible details before approving the specification.
- Product image
- Hero 3/4
- Front elevation
- Side elevation
- Aerial / plan
Timber veranda configurator FAQs
Can the header appearance be changed independently?
Yes. Single and twin header choices are listed separately from end profiles and anchoring. Keep those decisions identifiable in the agreed product specification.
What should I check on a timber veranda’s side elevation?
Review projection, the connection to the house and the support line. Those relationships explain terrace coverage better than a front view alone. Retain the selected header appearance while documenting drainage and the actual installation scope separately.
Put the choices
in the same view.
Explore the timber veranda configurator, review the available product options and discuss your own range with our team.