
Wellness layout planner configurator: arrange the retreat around movement between products
A wellness layout is more than a collection of product thumbnails. The customer needs to see how individual saunas, tubs, plunges and covered areas relate while preserving the specification of each selected item.
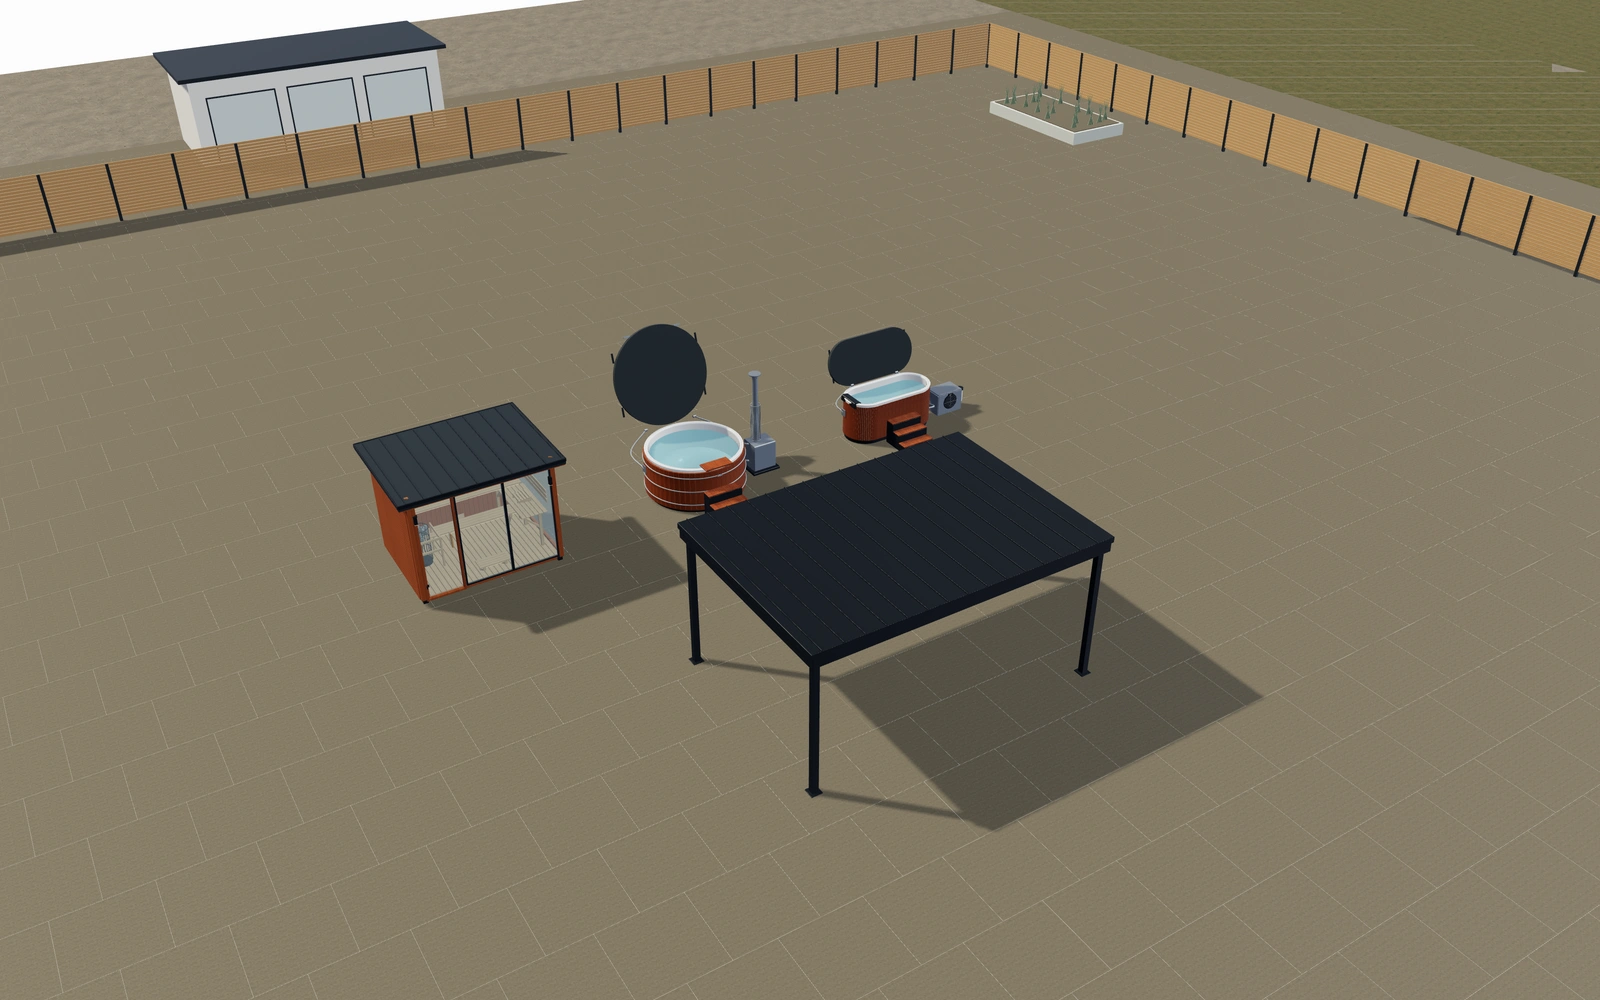
Arrange the retreat around movement between products
Start with the intended route through the space. Position and rotate the products in the overhead view, then inspect their entrances and interiors in 3D. Keep their individual dimensions and material choices identifiable rather than treating the whole retreat as one undifferentiated package.
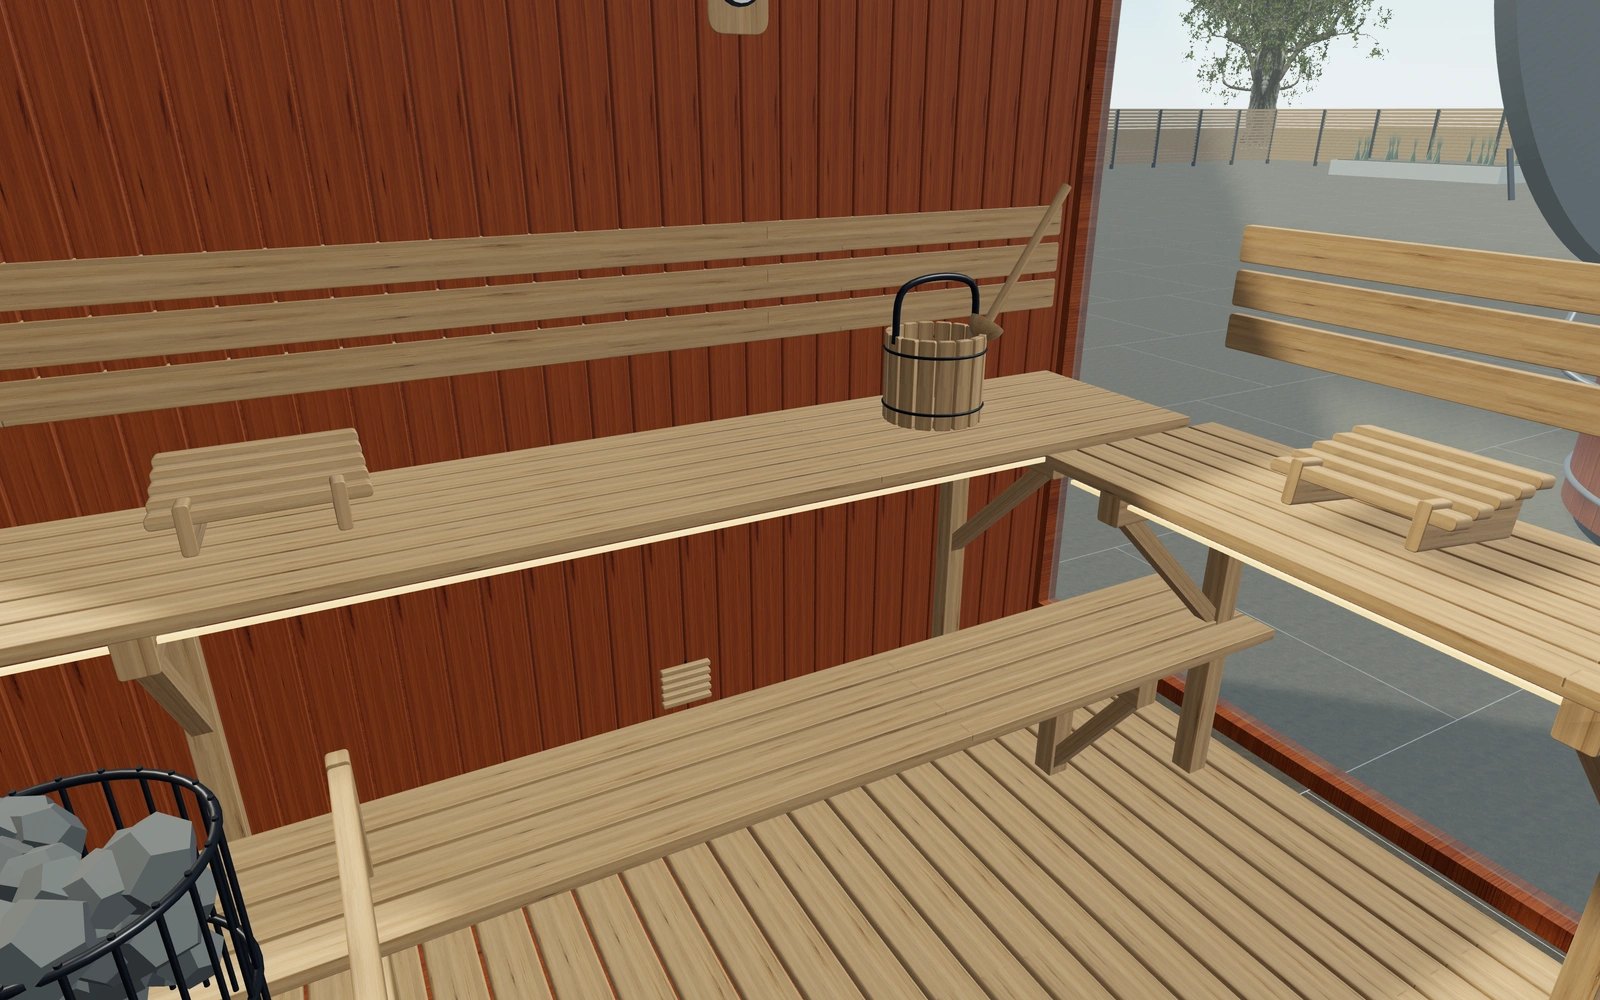
A compact product cluster or a more open route?
Compare the route between individual products before adding more equipment. Each sauna, tub or plunge retains its own specification. Moving a product in the layout should not become a substitute for reviewing its entry, service access and actual installation requirements.
Preserve the individual products within the overall scene
Choose the sauna, tub or plunge products for the selected positions, then review the route between them. Compare a compact grouping and a more open layout without silently replacing the product mix. Keep entrances and service sides visible as the arrangement changes.
Record each product’s own configuration and scope separately from shared ground and utility work. A coordinated palette can make the scene coherent, but it does not merge the equipment specifications. The proposal should let the customer identify every product and the common installation items around them.
Wellness layout planner options to compare
Review the selected model before refining individual details. Available choices can change with the model and earlier selections; the groups below describe the current starting configuration.
Site
- Site width
- 12000–40000 mm in the current model
- Site depth
- 12000–40000 mm in the current model
- Boundary planning setback
- 0–3000 mm in the current model
- Planning access allowance
- 400–2000 mm in the current model
Dimensions
- Product 1 · Width
- 2400–3800 mm in the current model
- Product 1 · Depth
- 2100–3200 mm in the current model
- Product 1 · Height
- 2350–2800 mm in the current model
- Product 2 · Diameter
- 1800–2600 mm in the current model
- Product 2 · Height
- 950–1200 mm in the current model
- Product 3 · Length
- 1900–2800 mm in the current model
- Product 3 · Width
- 900–1400 mm in the current model
- Product 3 · Height
- 900–1200 mm in the current model
- Product 4 · Width
- 3500–10000 mm in the current model
- Product 4 · Depth
- 3000–8000 mm in the current model
- Product 4 · Height
- 2500–3600 mm in the current model
Product options
- Product 1 · Heater appearance
- Electric stone tower
- Wall heater
- Wood stove and flue
- Product 1 · Timber heater guard
- Include or omit
- Product 1 · Ventilated slat backrest
- Include or omit
- Product 1 · Timber headrests
- Include or omit
- Product 1 · Bucket, ladle and thermometer
- Include or omit
- Product 1 · Door hinge side
- Left
- Right
- Product 1 · Side glazing
- Timber side walls
- Left glazed return
- Right glazed return
- Both glazed returns
- Product 1 · Exterior boarding
- Vertical shadow-gap boards
- Horizontal shadow-gap boards
- Product 1 · Roof overhang
- 80–350 mm in the current model
- Product 1 · Roof construction
- Folded standing seams
- Flat membrane with edge trim
- Product 1 · Bench arrangement
- Two straight rear tiers
- L-shaped two-tier layout
- Product 1 · Bench depth
- 480–650 mm in the current model
- Product 1 · Lower access step
- Include or omit
- Product 2 · Entry steps
- Include or omit
- Product 2 · Perimeter seat depth
- 300–430 mm in the current model
- Product 2 · External stove position
- Right
- Left
- Product 2 · Stove enclosure
- Water-jacket stove
- Stove with perforated heat shield
- Product 2 · Flue height above ground
- 2100–3000 mm in the current model
- Product 2 · Flue heat guard
- Include or omit
- Product 2 · Timber drink shelf
- Include or omit
- Product 2 · Step position
- Front
- Right
- Product 2 · Entry handrail
- Include or omit
- Product 2 · Insulated cover
- Include or omit
- Product 2 · Waterline below rim
- 100–260 mm in the current model
- Product 3 · Entry steps
- Include or omit
- Product 3 · Step position
- Front
- Right
- Product 3 · Entry handrail
- Include or omit
- Product 3 · Insulated cover
- Include or omit
- Product 3 · Waterline below rim
- 100–260 mm in the current model
- Product 3 · Open service panel
- Include or omit
- Product 3 · Basin profile
- Rounded capsule
- Soft rectangular basin
- Product 3 · Internal entry seat
- Include or omit
- Product 3 · Soft end headrest
- Include or omit
- Product 3 · Chiller location
- Right end
- Left end
- Product 3 · Chiller cabinet
- Compact horizontal unit
- Tall vertical unit
- Product 3 · External filter housing
- Include or omit
- Product 3 · Drain valve and hose union
- Include or omit
- Product 4 · Roof construction
- Insulated standing-seam roof
- Openable louvered shade roof
- Product 4 · Enclosure
- Open shelter
- Glazed weather enclosure
Materials
- Product 1 · Timber appearance
- Warm cedar
- Thermowood appearance
- Pale Nordic timber
- Product 1 · Bench timber appearance
- Pale aspen appearance
- Thermally treated timber
- Product 1 · Hardware / frame finish
- Graphite
- Bronze
- Brushed silver
- Product 1 · Glazing tint
- Clear
- Smoked
- Bronze
- Product 2 · Timber appearance
- Warm cedar
- Thermowood appearance
- Pale Nordic timber
- Product 2 · Hardware / frame finish
- Graphite
- Bronze
- Brushed silver
- Product 2 · Basin finish
- Pearl white
- Graphite
- Warm sand
- Slate blue
- Product 3 · Timber appearance
- Warm cedar
- Thermowood appearance
- Pale Nordic timber
- Product 3 · Hardware / frame finish
- Graphite
- Bronze
- Brushed silver
- Product 3 · Basin finish
- Pearl white
- Graphite
- Warm sand
- Slate blue
- Product 4 · Timber appearance
- Warm cedar
- Thermowood appearance
- Pale Nordic timber
- Product 4 · Hardware / frame finish
- Graphite
- Bronze
- Brushed silver
Lighting
- Product 1 · Lighting
- Include or omit
- Product 1 · Light appearance
- Warm white
- Neutral white
- Product 1 · Exterior wall lights
- Include or omit
- Product 2 · Lighting
- Include or omit
- Product 2 · Light appearance
- Warm white
- Blue
- Product 3 · Lighting
- Include or omit
- Product 3 · Light appearance
- Warm white
- Blue
- Product 4 · Lighting
- Include or omit
Dimension ranges describe the current model controls. Confirm the selected product, final measurements and supplied specification with the manufacturer.
Worked example: a customer brief for wellness layout planner
For a retreat enquiry, save a compact arrangement and a more spacious alternative with the same products. Record entry and maintenance routes. Build the proposal around the selected individual items and shared site works, keeping supplier requirements attached to each product.
From wellness layout planner choices to a clear proposal
Prepare the proposal around the selected products and shared site work. Services, drainage, access and installation requirements need coordination across the actual supplied equipment. The planner can support that conversation while the project team confirms the connections and operating requirements for each product.
Questions for your wellness layout planner review
- Route through the retreat
- Individual product specifications
- Entrances and access
- Coordinated site services
Useful views for the wellness layout planner review
Use these inspection views to discuss the arrangement and visible details before approving the specification.
- Selected product
- Selected product interior
- Selected product equipment and entry
Wellness layout planner configurator FAQs
Does a grouped layout merge the product specifications?
No. Keep individual dimensions, materials and equipment choices identifiable within the project, even when the products are discussed as one retreat.
How should a multi-product wellness project be quoted?
List each selected sauna, tub or plunge system separately, then identify the shared site and service work. Keep the route between products with the layout. A grouped scene is useful for discussing placement without merging distinct equipment and installation responsibilities into one ambiguous package.
Put the choices
in the same view.
Explore the wellness layout planner configurator, review the available product options and discuss your own range with our team.