
Rainwater tank system configurator: organise the equipment around the water-use brief
A rainwater-tank configuration should start with the customer’s intended use and the available site space. The visual arrangement is useful when it makes the tank, connections and access points easier to discuss together.
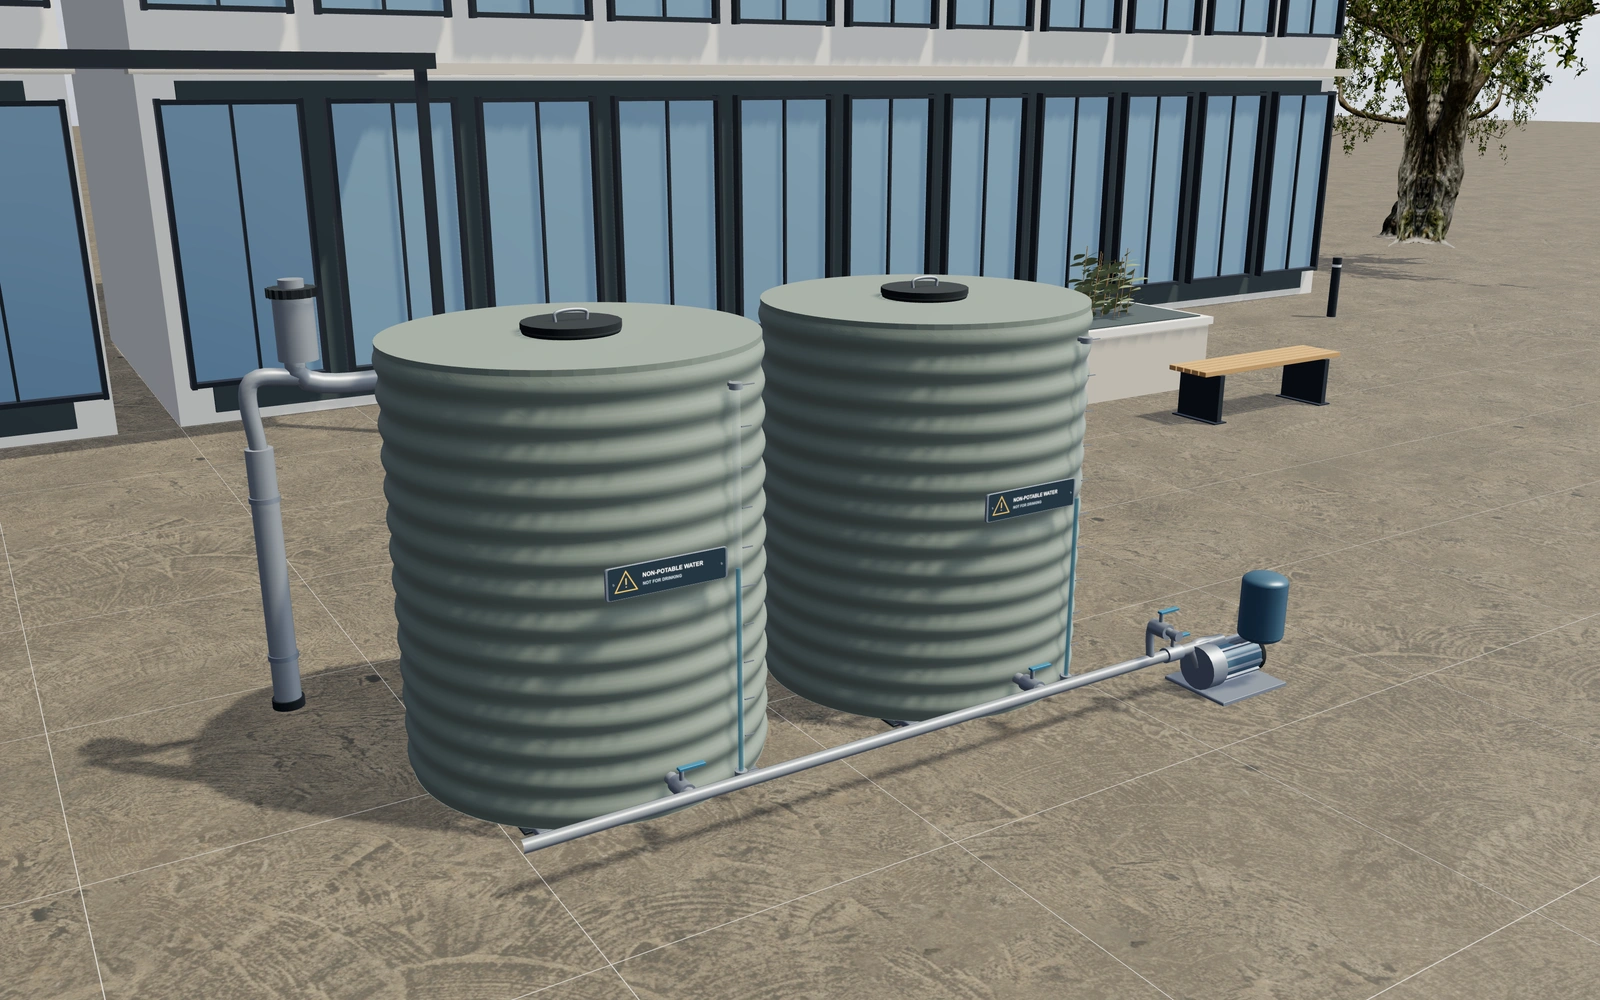
Organise the equipment around the water-use brief
Compare the selected tank proportions and equipment positions from the approach and service sides. Identify where the incoming and outgoing connections are expected and which components need routine access. Keep the customer’s site and water-use questions beside the visual selection.
A compact arrangement or more space for service access?
Compare the tank position with the connections and access points visible. A larger-looking tank should answer an agreed capacity brief, not simply a visual preference. Keep intended water use separate from the exterior finish and any equipment appearance shown in the model.
Compare vessel form with the connection layout
Corrugated round and slimline tank forms occupy the site differently. Compare their arrangement with the building connection and pump position identified. A larger-looking bank is not a complete water-storage design without the actual collection, use and access requirements.
Record tank finish independently from pipe appearance. Retain the selected inlet and outlet sides so the proposal describes a coherent equipment layout. Pumps, treatment and installation should be identifiable items, with any required sizing or yield assessment supplied separately from the visual model.
Rainwater tank systems options to compare
Review the selected model before refining individual details. Available choices can change with the model and earlier selections; the groups below describe the current starting configuration.
Layout
- Tank form
- Corrugated round tank
- Space-saving slimline tank
- Gap between tanks
- 160–400 mm in the current model
Dimensions
- Round tank diameter
- 1200–2400 mm in the current model
- Tank body height
- 1500–2400 mm in the current model
Finishes
- Tank finish
- Sage green
- Warm stone
- Anthracite
- Galvanised-steel appearance
- Connection-pipe finish
- Grey polymer
- Black polymer
- Brushed metal
Equipment
- Water-level illustration
- 0–100 % in the current model
Inlet
- Inlet leaf strainer
- Include or omit
- First-flush diverter assembly
- Include or omit
- Building connection side
- Left end of tank bank
- Right end of tank bank
- Inlet connection above tank
- 150–400 mm in the current model
- Overflow pipe and screened outlet
- Include or omit
Outlet
- External pump and pressure vessel
- Include or omit
- Outlet and pump position
- Left end of tank bank
- Right end of tank bank
- Separate garden draw-off tap
- Include or omit
Signage
- Non-potable identification plates
- Include or omit
Base
- Base-rail anchoring hardware
- Include or omit
Dimension ranges describe the current model controls. Confirm the selected product, final measurements and supplied specification with the manufacturer.
Worked example: a customer brief for rainwater tank systems
For a yard installation, save the preferred arrangement and record incoming and outgoing connection questions. Quote the selected equipment separately from the plumbing and site works, with actual capacity and water-use requirements confirmed by the relevant supplier.
From rainwater tank systems choices to a clear proposal
Describe the chosen equipment arrangement on the proposal, with sizing and installation requirements confirmed by the relevant supplier. A tank image should not stand in for a water-yield calculation or an agreed plumbing design. Separate the physical product choices from the site work and connected services.
Questions for your rainwater tank systems review
- Intended water use
- Tank position
- Connection locations
- Service access
Useful views for the rainwater tank systems review
Use these inspection views to discuss the arrangement and visible details before approving the specification.
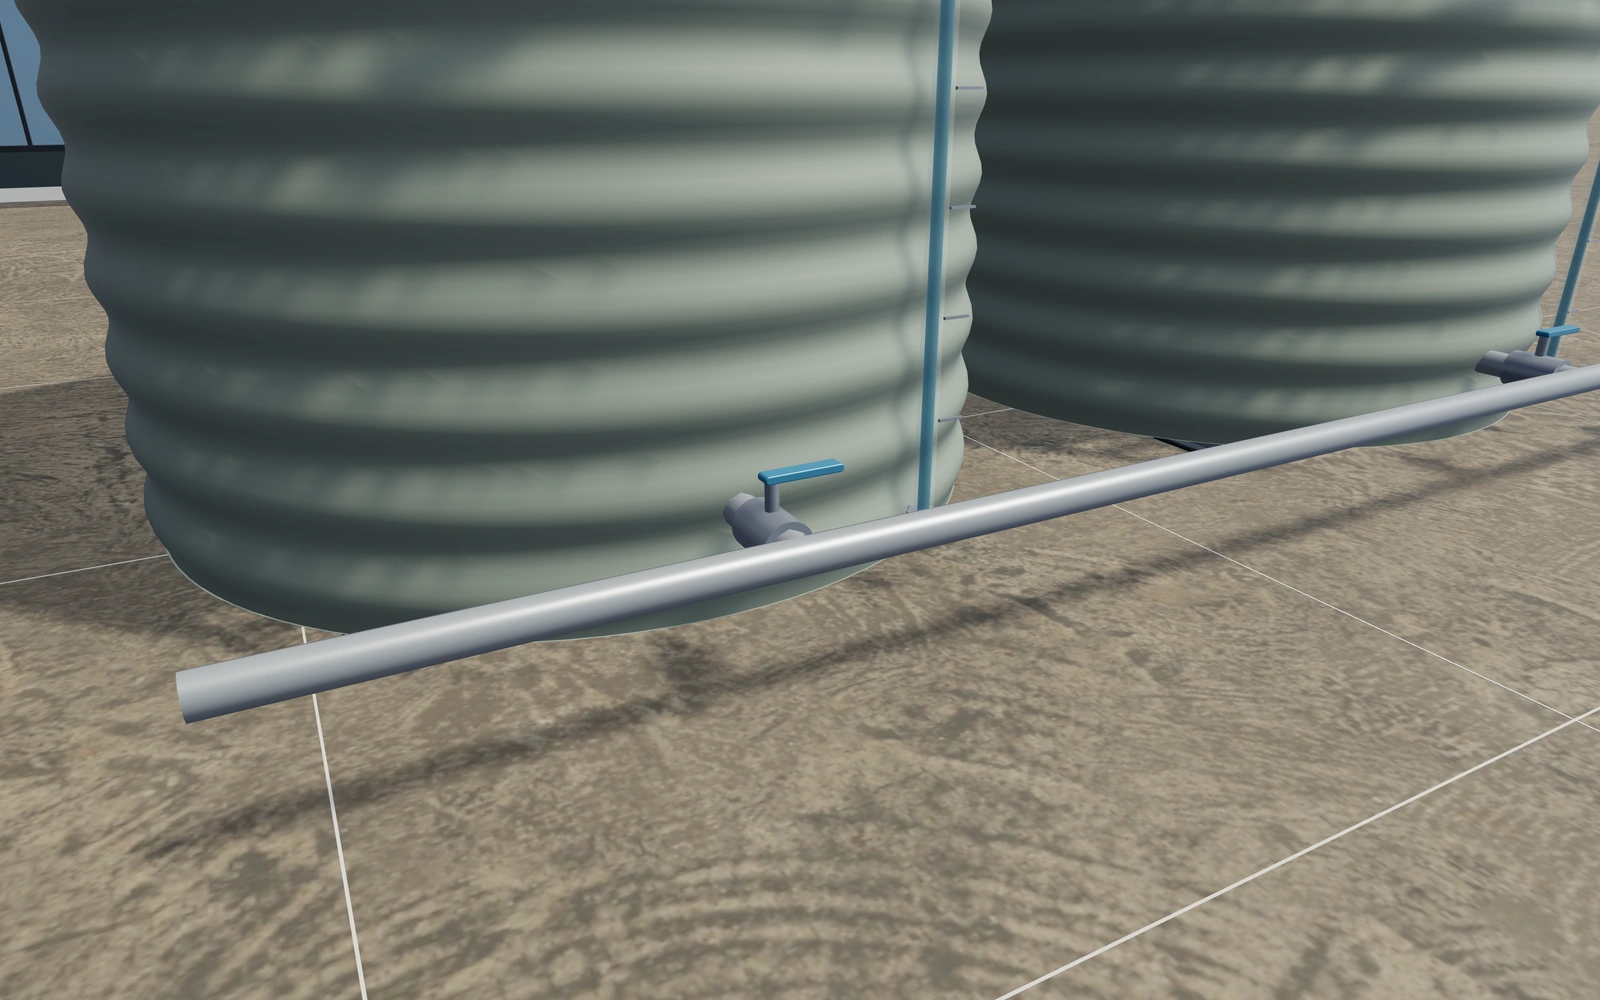
- Tank outlet valve and connecting manifold
- Inspection lid and inlet routing
Rainwater tank systems configurator FAQs
Can the model predict harvested-water yield?
No. It supports an equipment-layout discussion. Yield, capacity and system sizing need the actual project information and supplier assessment.
How should tank and service requirements be documented?
Identify the selected vessel arrangement, connections and access preferences. Retain the site’s actual collection and usage brief for the supplier. Keep pumps, treatment, installation and any performance sizing identifiable rather than treating the rendered tank as a complete water system design.
Put the choices
in the same view.
Explore the rainwater tank systems configurator, review the available product options and discuss your own range with our team.