
Glass balustrade configurator: resolve the glass layout before choosing the finish
Glass railing projects combine a continuous visual line with many individual panels and fixings. A balustrade configurator helps the customer compare that line around a terrace, while giving the supplier a clearer record of the preferred layout, glass appearance and handrail.
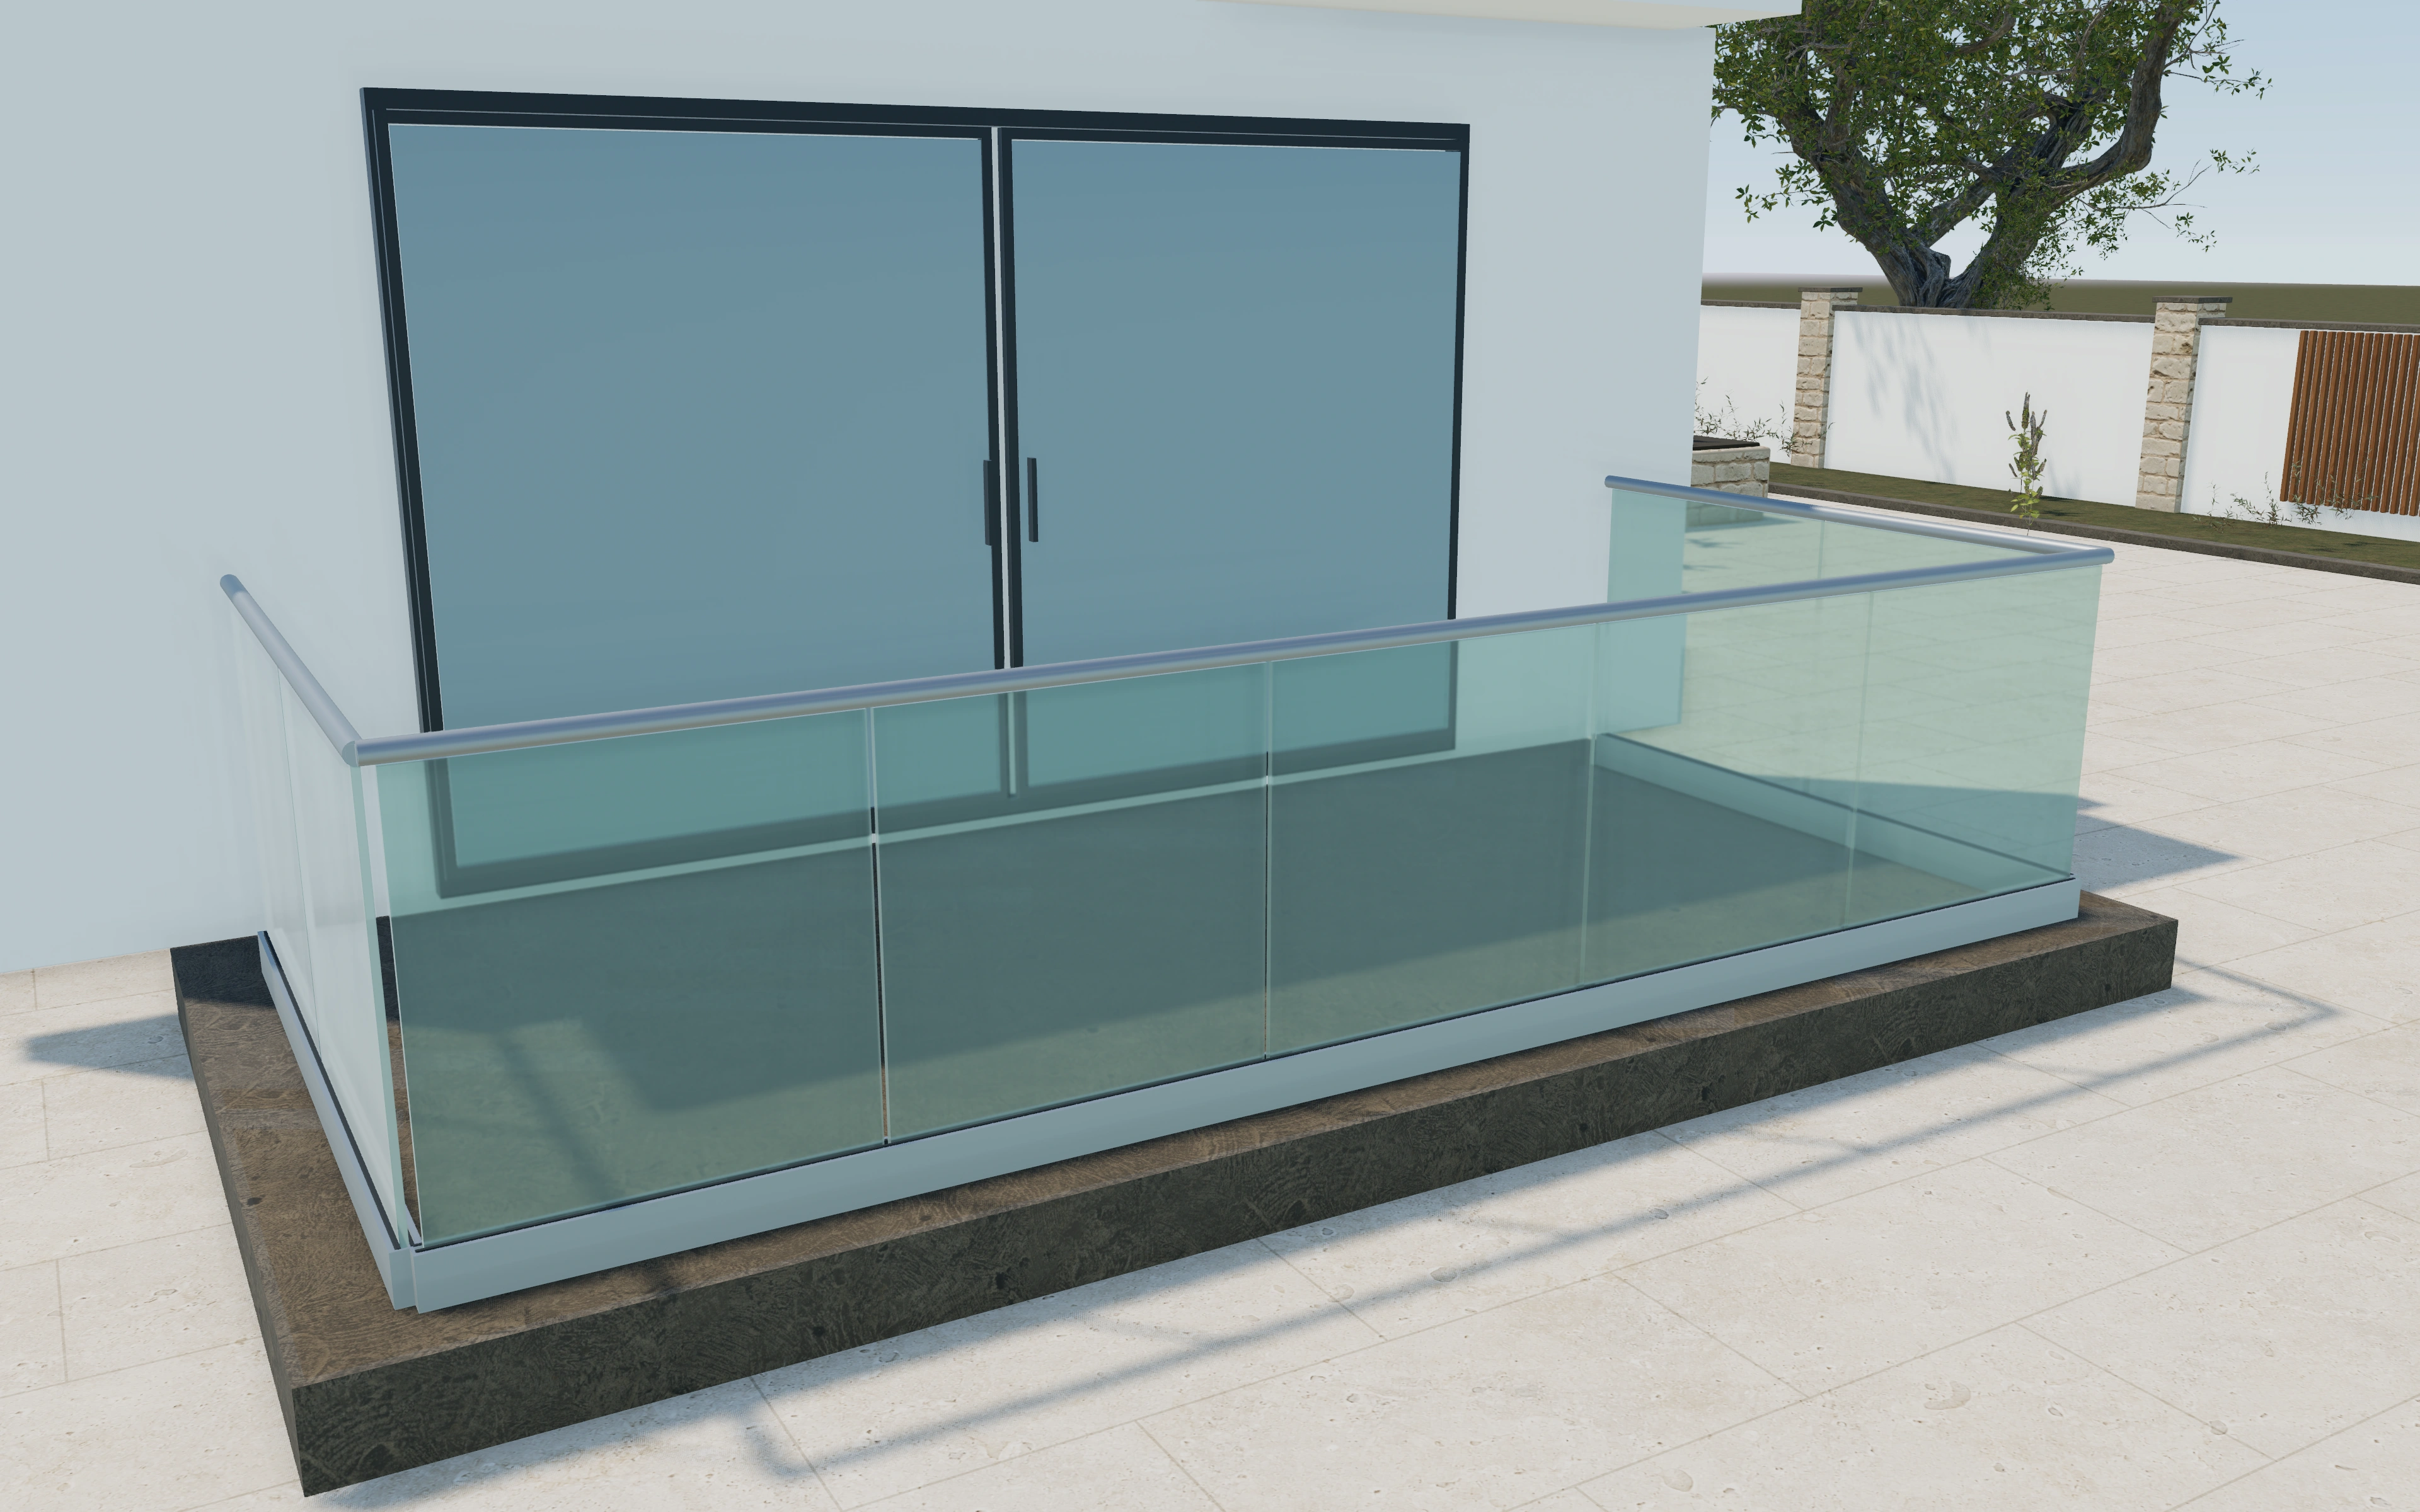
Resolve the glass layout before choosing the finish
Define the front run first, then choose a straight, L-shaped or U-shaped arrangement. Set the returns and review the panel divisions at each corner. The maximum panel-width control divides a run into equal panels within the selected limit, so changing the length can change both panel count and joint positions. Check the resulting elevation rather than assuming one preferred panel size will fit every run exactly.
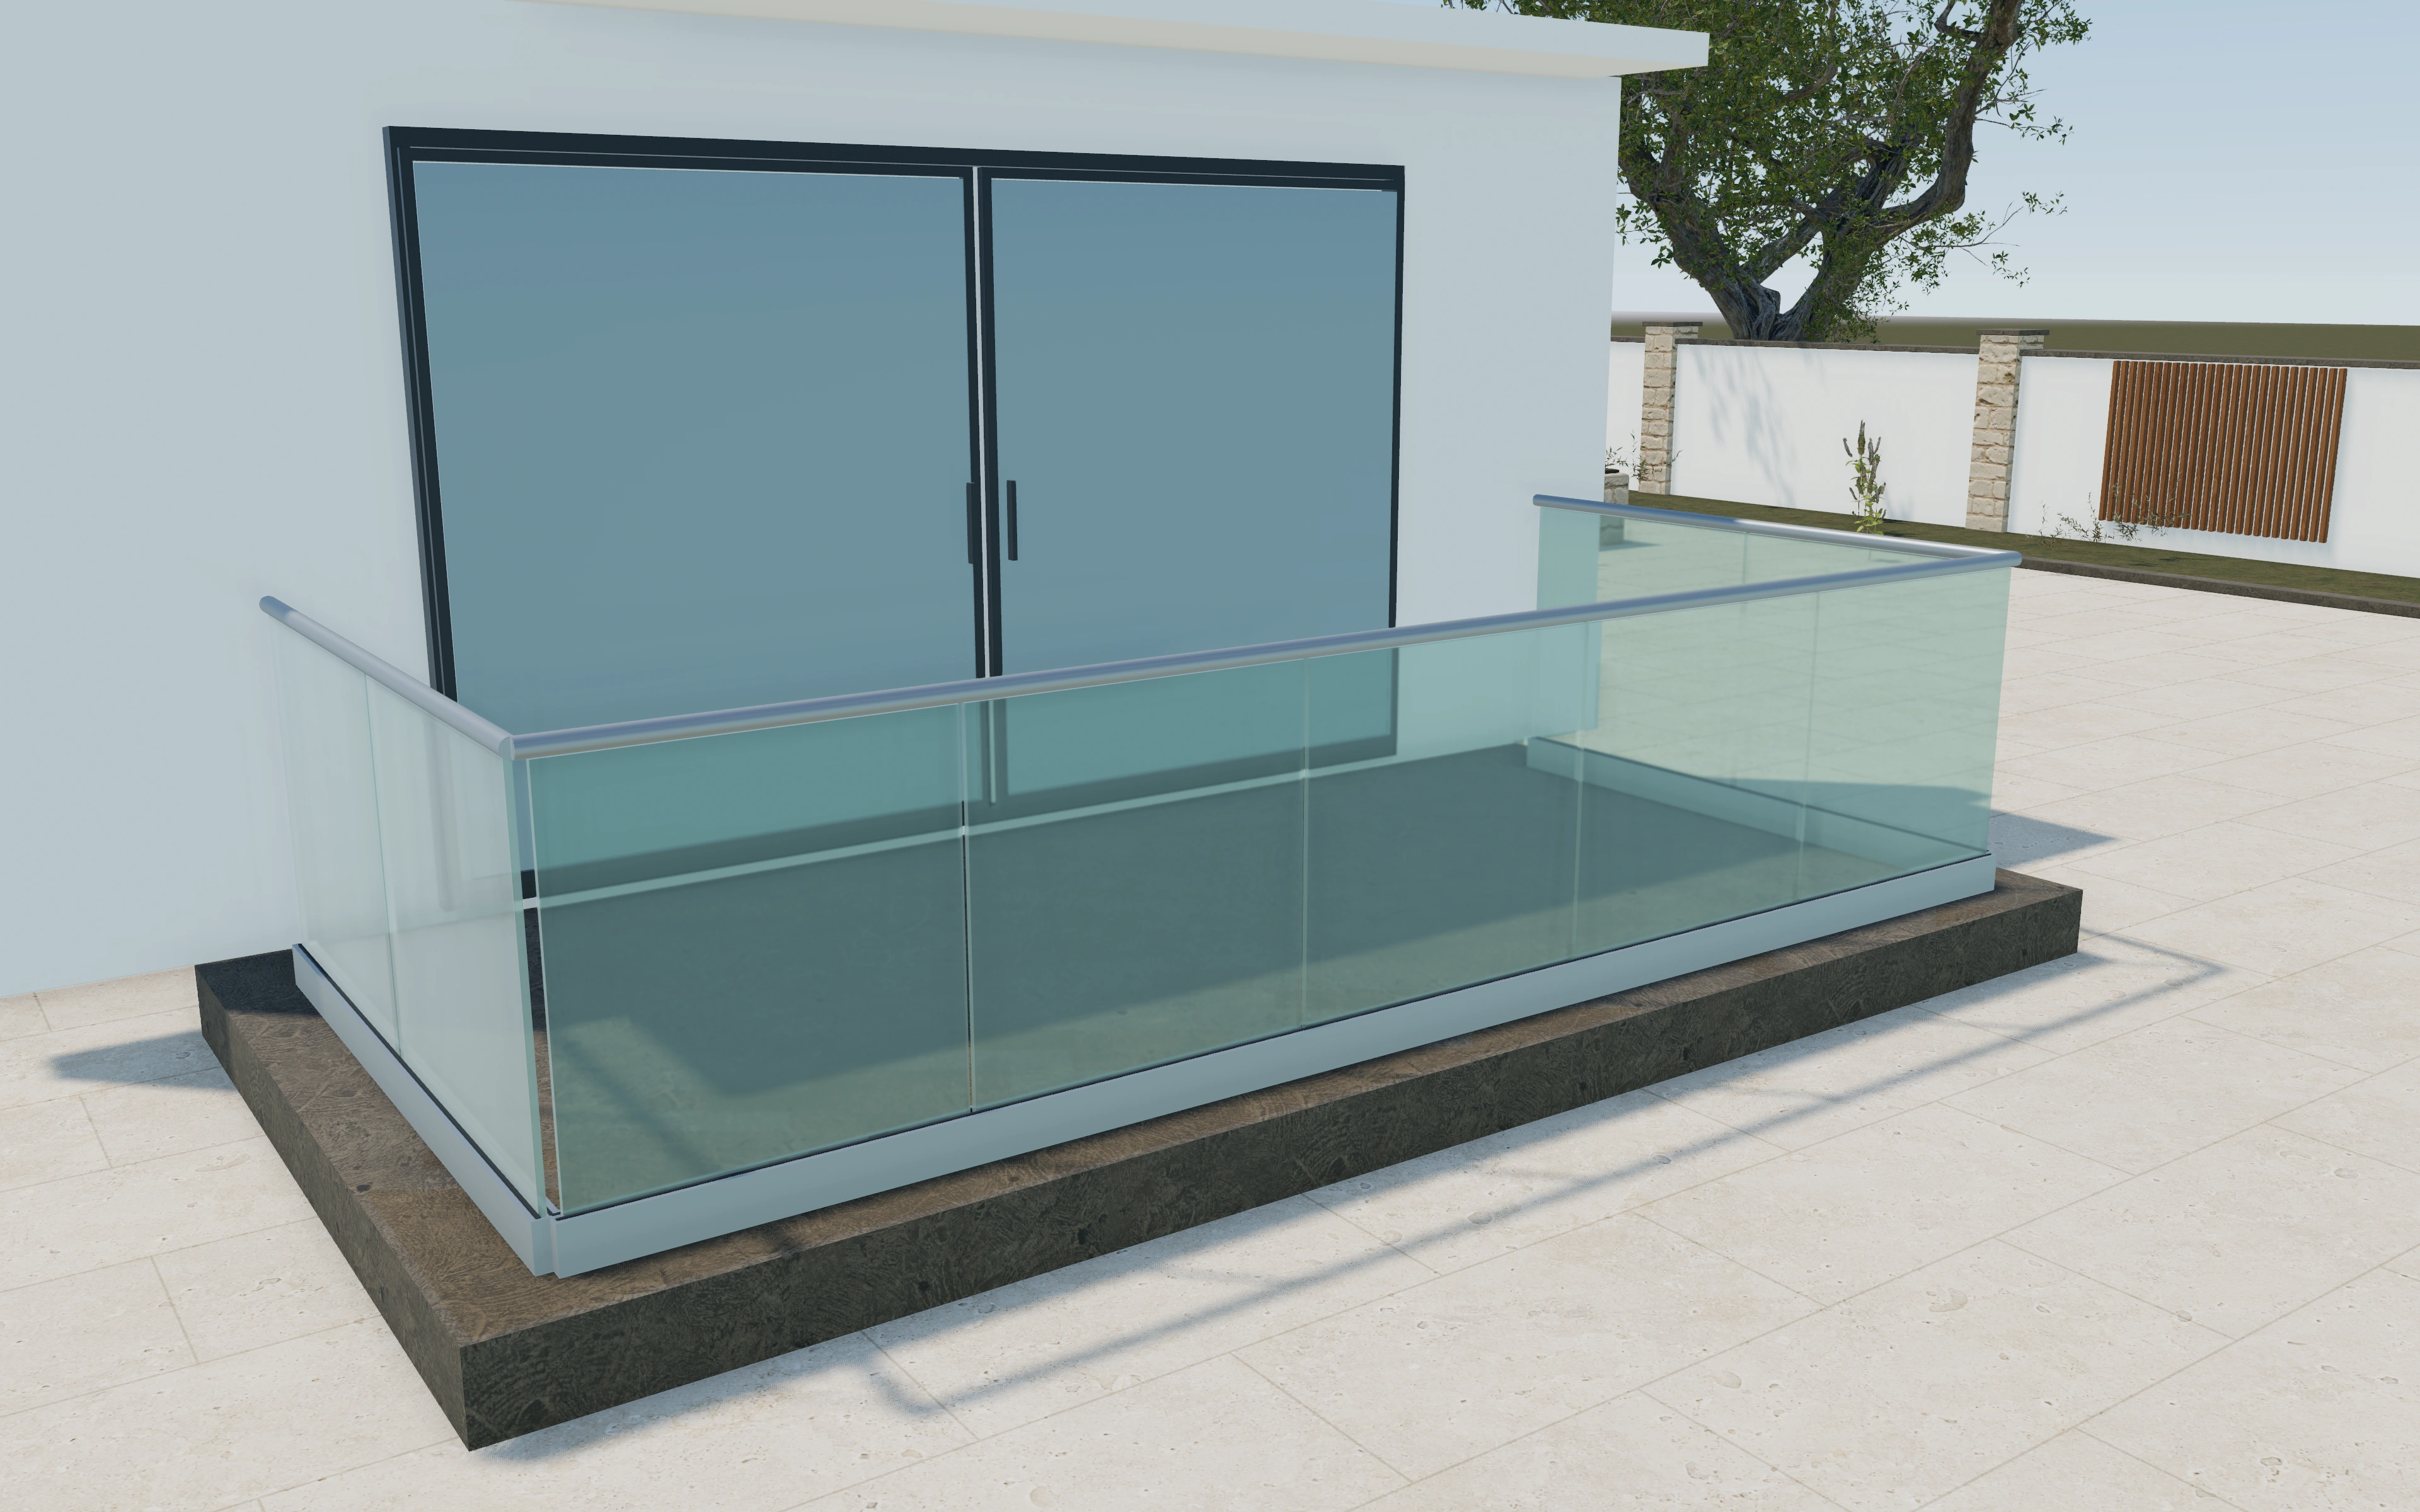
Base channels, spigots or baluster posts?
A continuous base channel gives the glass a largely uninterrupted appearance along its lower edge. Spigots make the individual fixing positions visible and leave more open space below the panels. Baluster posts introduce a repeating vertical rhythm and separate the glass visually into bays. Compare all three with the same run dimensions, then inspect the floor or slab connection. These systems distribute loads differently; the visual model cannot establish that an existing terrace can accept any chosen fixing.
Coordinate the handrail with the glass edge
A round metal rail, rectangular cap and timber handrail create different upper edges. Compare them at the same finished height and inspect their corner connections. Removing the top rail creates a cleaner view in the model, but whether that arrangement is permitted depends on the approved glass system and installation requirements.
The available laminated thickness choices are specification inputs, not an engineering calculation. Record the preferred thickness and panel dimensions together for supplier review. If channel lighting is selected, include its power supply, access for maintenance and the installation detail in the proposal rather than treating the visible light strip as the whole electrical system.
Glass balustrade options to compare
Review the selected model before refining individual details. Available choices can change with the model and earlier selections; the groups below describe the current starting configuration.
Layout
- Railing layout
- Straight run
- L-shaped corner
- U-shaped balcony
- Front run length
- 1200–12000 mm in the current model
- Return length
- 800–6000 mm in the current model
- L return side
- Left
- Right
Dimensions
- Finished railing height
- 900–1400 mm in the current model
- Maximum panel width
- 500–1400 mm in the current model
- Glass joint gap
- 10–30 mm in the current model
Fixings
- Mounting system
- Continuous base channel
- Floor-mounted spigots
- Stainless baluster posts
- Channel mounting
- Top mounted
- Fascia mounted
Glass
- Glass appearance
- Clear
- Low iron
- Smoke tint
- Bronze tint
- Frosted privacy
- Laminated glass thickness
- 13.52 mm
- 17.52 mm
- 21.52 mm
Finishes
- Metal finish
- Brushed stainless
- Anthracite
- Satin black
- Soft white
- Silver
Handrail
- Top rail
- No top rail
- Round stainless rail
- Rectangular metal cap
- Timber handrail
Lighting
- Concealed channel lighting
- Include or omit
- Lighting colour
- Warm white
- Neutral white
Setting
- Terrace surface
- Limestone terrace
- Concrete terrace
- Timber decking
Dimension ranges describe the current model controls. Confirm the selected product, final measurements and supplied specification with the manufacturer.
Worked example: a customer brief for glass balustrade
For a terrace with a 4,800 mm front edge and two 2,200 mm returns, start with the U-shaped layout and 1,100 mm finished height. Compare clear glass in a continuous channel with smoke glass on stainless posts. Keep the run lengths constant so the customer sees the effect of the system rather than a changed footprint. Review the end conditions beside the facade, choose a handrail preference and attach the views to the quote for a site-specific supplier review.
From glass balustrade choices to a clear proposal
Carry the run lengths, finished height, glass appearance, nominal thickness, mounting system and top-rail choice into the proposal. Separate the visible railing specification from substrate preparation, waterproofing, edge repairs and structural verification. Installation tolerances and final measured panel sizes should be confirmed before glass is ordered.
Questions for your glass balustrade review
- Front and return measurements
- Panel divisions and corner joints
- Mounting substrate and waterproofing
- Supplier-approved glass and fixing specification
Useful views for the glass balustrade review
Use these inspection views to discuss the arrangement and visible details before approving the specification.
- 3D perspective
- 2D plan
- Rear mechanism
- Front elevation
Glass balustrade configurator FAQs
Can the base channel be mounted on the slab face?
The channel system offers top and fascia mounting. Fascia mounting places the channel at the terrace edge and changes the visible relationship between the glass and slab. Confirm the available slab depth, fixing access, edge distances and waterproofing with the installer; the choice in the model is not a structural approval.
What is the difference between low-iron and tinted glass in the preview?
Low-iron glass presents a clearer appearance, while smoke and bronze introduce visible tint and frosted glass reduces transparency. Compare them against the same facade and terrace surface. The screen preview is useful for discussing preferences, but final colour, reflection and privacy should be checked against samples from the proposed glass supplier.
Put the choices
in the same view.
Explore the glass balustrade configurator, review the available product options and discuss your own range with our team.